Re-siding is an excellent investment since homeowners can often recoup 75–100% of their costs. Here are a few tips to keep in mind when installing home siding:
Check your local building codes and obtain the necessary permits to install the siding.
Take a blueprint or measurement of the house to any Kempsville Building Materials store location for a free estimate.
Ask a Sales Associate at Kempsville to help figure out how to work around important details such as windows and door caps, sills, corners, etc.
This is a good time to think about replacing windows and doors too.
This is a good time to add decorative and functional touches such as exterior lights, doorbell buttons, new outdoor faucets, and dryer vents to make the job look great all around the house.
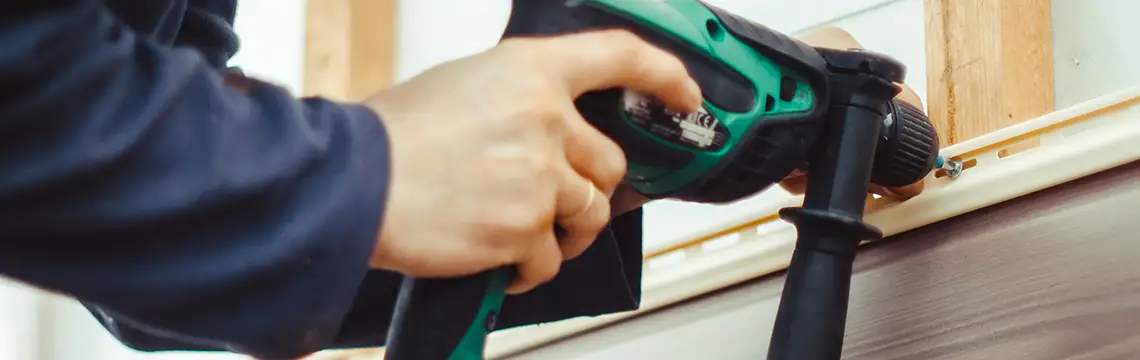
Nailing
Vinyl siding must be attached loosely because it expands and contracts as much as 1/4" over a 12' 6" length with temperature and seasonal changes.
Do not face-nail siding. Face-nailing is not only unsightly but will cause vinyl to buckle with changes in temperature.
Do not nail siding too tightly. Leave 1/32" between the nail head and vinyl.
Center nails in slots to permit expansion and contraction of siding.
Drive nails straight and level to prevent distortion and buckling of the panel.
Start nailing vertical siding and trim pieces in the top of the uppermost slots to hold them in position. Place all other nails in the center of the slots.
Space nails a maximum of 16" apart for horizontal siding panels, every 12" for vertical siding panels, and every 6" to 12" for accessories.
Make sure that the panels are locked at the bottom. Do not pull them tight when nailing.
Horizontal Siding
Place the first panel in the starter strip and securely lock.
Fasten panels per the nailing tips above.
Check the course to ensure proper alignment with windows, eaves, and adjacent walls.
Allowances should be made for expansion and contractions by leaving about 1/4" at all corner posts and channels.
Always overlap joints away from entrances to improve the overall appearance of the installation.
Lap end joints per manufacturer's recommendations so that the vinyl panels can move freely in a side-to-side direction.
Stagger end laps so that one is not directly above the other unless separated by three courses.